Professionele projecten, op maat van uw KMO.
Wie wij zijn ?
Bij Entity-Project draait alles rond projecten die écht vooruitgaan. We zijn pragmatisch, analytisch en hands-on — eigenschappen die ons al jarenlang helpen om complexe projecten in goede banen te leiden.
Veel bedrijven hebben sterke ideeën, maar missen de structuur en daadkracht om die ook succesvol om te zetten in de praktijk. Met Entity-Project zetten we onze ervaring in om precies dat verschil te maken
Samenwerken met Entity-Project betekent vertrouwen, duidelijkheid en actie. Geen eindeloze theorie, maar haalbare plannen en concrete resultaten waar een bedrijf sterker van wordt.
Met de diensten Vision, Venture en Panorama begeleidt Entity-Project bedrijven stap voor stap — van idee tot uitvoering — zodat elk project niet alleen start, maar ook duurzaam slaagt.
Wat Entity-Project onderscheidt, is de persoonlijke en flexibele aanpak. Er wordt steeds gewerkt vanuit de realiteit van de klant. De focus ligt op samenwerking, transparantie en duidelijke communicatie, zodat bedrijven zich ondersteund voelen in elke fase van hun project.

Ons aanbod
Onze manier van werken
We bieden onze SCALE-diensten (Vision, Venture en Panorama) als pakketdiensten aan, omdat we geloven in duidelijkheid, voorspelbaarheid en resultaatgericht samenwerken. In plaats van enkel op basis van tijd en materiaal te werken, geven onze pakketten klanten vooraf helder inzicht in wat ze mogen verwachten — zowel qua aanpak, inhoud als kosten. Zo weten klanten precies wat ze krijgen, waar de focus ligt en welke waarde wordt geleverd. Dit maakt de samenwerking transparanter, efficiënter en gericht op het behalen van concrete resultaten in plaats van het tellen van uren.
Vision – Van idee naar strategie
Vision is gespecialiseerd in het transformeren van uw eerste bedrijfsideeën naar gevalideerde, uitvoerbare plannen. Wij begeleiden u van concept tot concreet, waarbij we ervoor zorgen dat uw bedrijfsvisie niet alleen innovatief, maar ook haalbaar en marktklaar is.
Vision is de ideale partner voor ondernemers en bedrijven op het punt van groei, die hun visie willen omzetten in robuuste bedrijfsstrategieën.
Venture – Van strategie naar plan
Voortbouwend op Vision, breidt Venture uw reis uit van ideeënvorming tot het creëren van een gedetailleerd, gestructureerd projectplan. Wij zijn gespecialiseerd in het overbruggen van de kloof tussen innovatieve ideeën en hun praktische implementatie. Onze service omvat onder andere uitgebreide projectplanning, communicatieplanning en verandermanagement.
Venture is ontworpen voor bedrijven die klaar zijn om van abstracte concepten naar uitvoerbare, georganiseerde plannen te gaan, en zorgt voor een soepele overgang naar uitvoering.
Panorama – Van plan naar resultaat
Panorama biedt een allesomvattende oplossing voor uw projectmanagementbehoeften. Deze service bestrijkt de volledige projectlevenscyclus - van initiële ideeënvorming met Vision, via gedetailleerde planning met Venture, tot de uitvoering en succesvolle operationele overgang. Wij bieden expertise van begin tot eind, met een focus op adaptieve en flexibele methodologieën om de complexiteiten van projectmanagement te navigeren.
Panorama is ideaal voor bedrijven die een holistische, resultaatgerichte aanpak zoeken om visies om te zetten in blijvende successen.
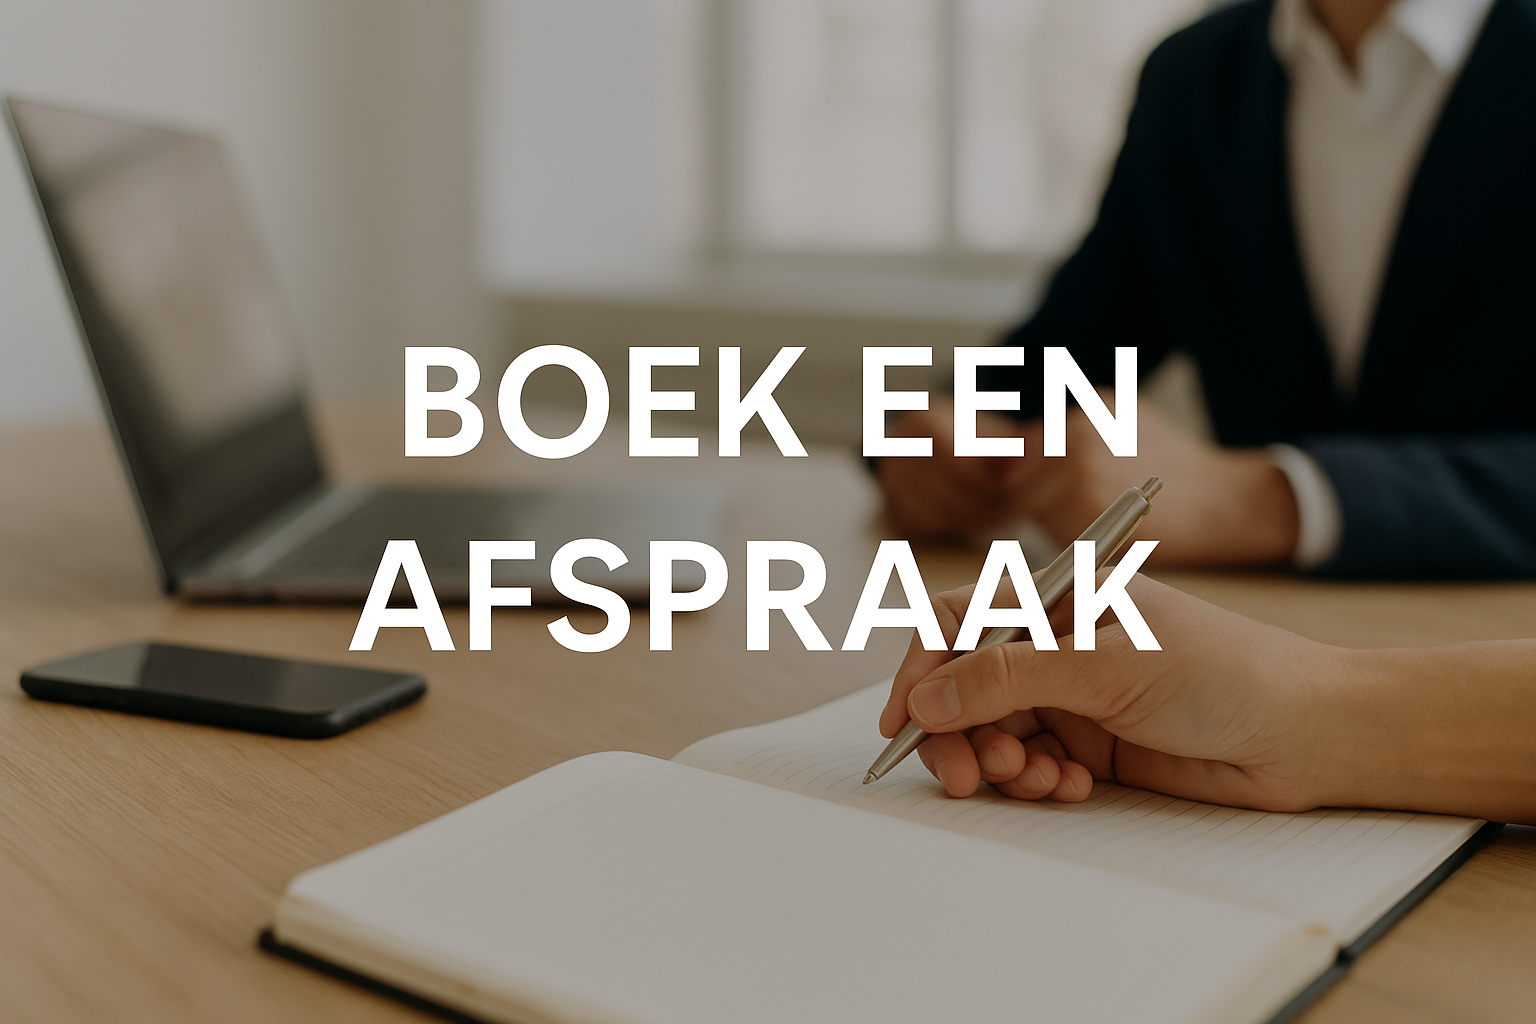
Klaar om de volgende stap te zetten in het professionaliseren van uw bedrijf en uw project?
Boek vrijblijvende een verkennende afspraak met ons zodat we kunnen kijken hoe wij u het beste kunnen helpen
Boek een afspraak